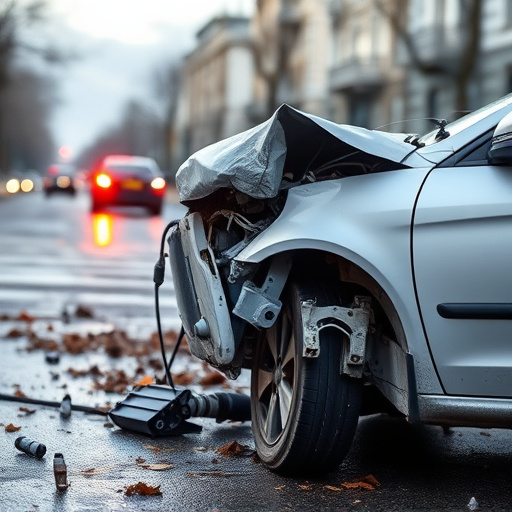


After a collision, a brake system inspection is crucial to prevent future accidents. This involves checking pads, rotors, fluid levels, and lines for damage or wear, ensuring safe stopping capabilities, especially in classic car restorations. Regular maintenance addresses common issues like worn pads, corroded rotors, contaminated fluid, and faulty calipers or ABS sensors, vital for optimal braking performance and driver safety.
After a fender-bender, a thorough brake system inspection is crucial. Understanding your car’s brake components and their potential impact from a collision is the first step towards ensuring safety on the road. This guide offers a detailed breakdown of the process, from identifying key parts to performing a visual checkup, helping you navigate through common issues that may arise post-accident. By following these steps, you’ll be better equipped to maintain your brake system’s efficiency and reliability.
- Understanding Brake System Components After a Collision
- Step-by-Step Guide for Visual Inspection of Brakes
- Common Issues to Look For During Brake Checkup
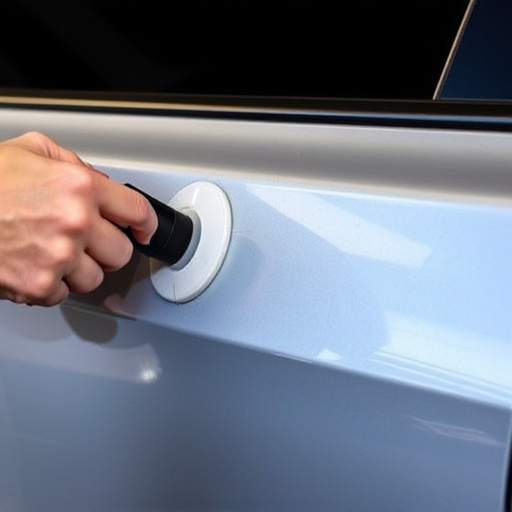
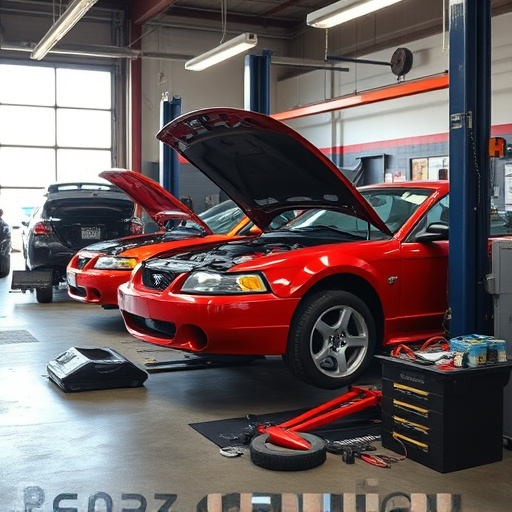
Understanding Brake System Components After a Collision

After a minor collision, it’s crucial to understand that even seemingly insignificant dents or dings could impact your vehicle’s brake system components. A thorough brake system inspection is essential following any fender-bender to ensure safety and prevent future issues.
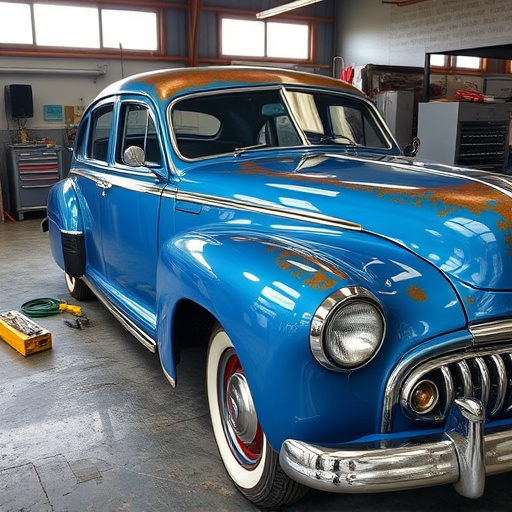
The brake system consists of various interconnected parts, including calipers, rotors, pads, and fluid lines. During a collision, these components can be subjected to force and stress, potentially leading to damage or misalignment. A professional mechanic will inspect each part for wear, tear, or deformity. They may also utilize specialized tools to check brake fluid levels and assess the integrity of the system as a whole, ensuring your vehicle stops effectively and safely following a collision, preventing more serious accidents from occurring. Remember, when it comes to vehicle repair services after a collision, especially for classic car restoration projects, proper brake system inspection is paramount.
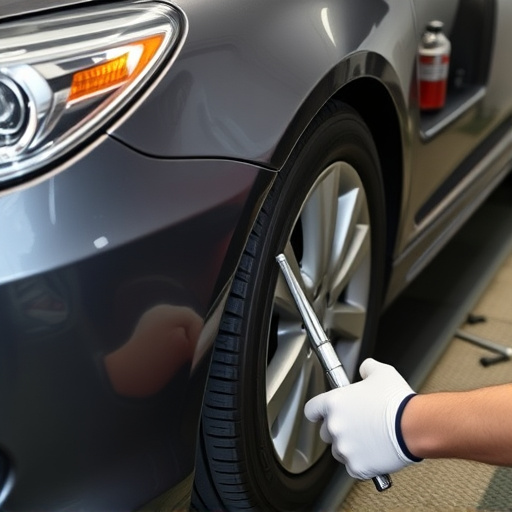
Step-by-Step Guide for Visual Inspection of Brakes
After a fender-bender accident, performing a thorough brake system inspection is crucial for ensuring safety and preventing further damage. Here’s a step-by-step guide to help you navigate this process:
1. Examine Brake Pads: Look for signs of wear, thinning, or discoloration on both the front and rear brake pads. Check if they’re at or below the recommended thickness. If worn beyond acceptable limits, consider replacing them immediately. Also, inspect the pad material for any foreign objects that may have become embedded during the collision.
2. Visualize Brake Rotors: Inspect the brake rotors for warping, cracks, or dents. Rotate the wheels to check for uneven wear patterns. If rotors are damaged, they should be replaced to ensure smooth and even braking. Remember, a well-maintained brake system is integral to your safety on the road, so pay close attention during this visual inspection.
3. Check Brake Fluid: Locate the brake fluid reservoir and check the level. Top it up if necessary with the recommended type of brake fluid. Always refer to your vehicle’s manual for specific details. Contaminated or low brake fluid can lead to reduced braking performance, so ensure it’s in optimal condition.
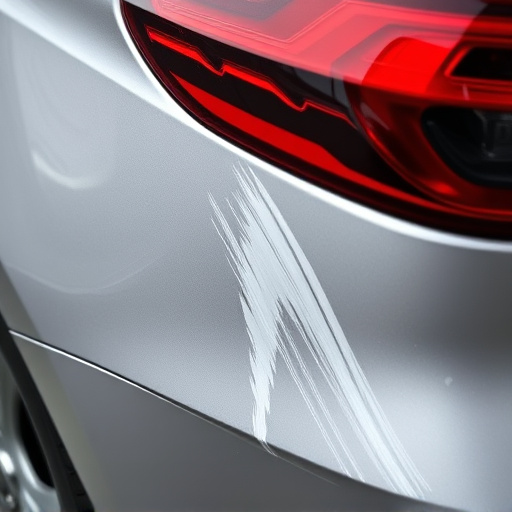
4. Inspect Brake Lines: Look for any visible damage, such as punctures, cracks, or bulges in the brake lines. If you spot any issues, consult a professional mechanic, especially if your car requires specialized auto painting and scratch repair services following the collision.
5. Assess Calipers and Antilock Braking System (ABS): While visually inspecting the brakes, pay attention to calipers and ABS components. Check for leaks or damage. Ensure they operate smoothly when testing the brakes.
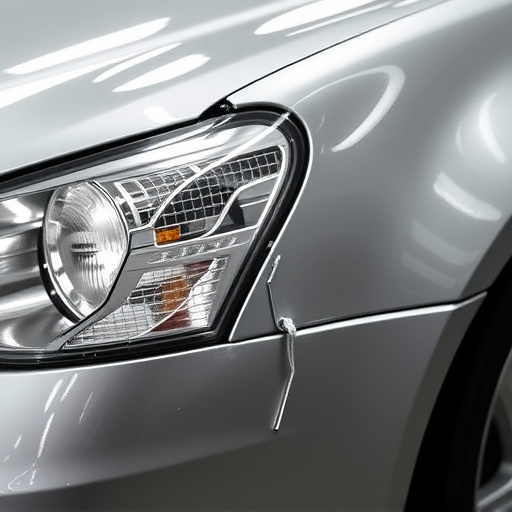
Common Issues to Look For During Brake Checkup
After a fender-bender, a thorough brake system inspection is crucial. Here are some common issues to look for during your checkup. Worn or damaged brake pads and rotors are frequent culprits; these components play a vital role in stopping your vehicle effectively. During your inspection, examine the brakes for signs of excessive wear, corrosion, or damage, which could indicate the need for replacement.
Additionally, inspect the brake fluid for any contaminants or low levels. Contaminated fluid can reduce braking performance and lead to unpredictable behavior, while low levels may signal a leak in the system. Other potential issues include worn out calipers, damaged brake lines, or faulty ABS (Anti-lock Braking System) sensors. Remember, prompt attention to these issues is essential for your safety on the road; consider these as part of your regular vehicle collision repair and tire services routine.
After a fender-bender, a thorough brake system inspection is crucial for ensuring safety on the road. By understanding the components and following a structured visual check, you can identify potential issues quickly. This guide equips drivers with essential knowledge to navigate post-collision brake maintenance, promoting peace of mind and enhancing overall vehicle care. Remember, a proactive approach to brake inspections can prevent future accidents and ensure smoother rides.